
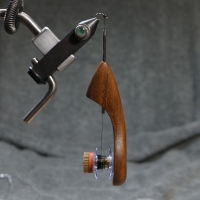

Step-by-step instruction for making Andy's Bobbins
Download .pdf here.
There are, obviously, many ways to a goal. These are the steps I've settled on to craft the Wayne Moore inspired Andy's Bobbin. I'm hoping others will take up the craft. If there are details that I've missed here, I'm more than happy to share what I've discovered. My email is bobbins@lumpofclay.net
NOTE: I have listed imperial sizes for both tools and parts. These sizes are what I use, but there is room for wiggle and options by choice. I am not listing my parts supplier, but I will share that information with anyone who asks.
Tool list: band saw, drill press with vise, square, small level (I use a combination square handle for both), bits (OD thread tube and OD threaded spindle rod), spindle sander with 80 and 120/150 grit drums, vise, hack saw, tube cutter, semiround micro file, file, tap (thread count of threaded spindle rod), couple inch length of threaded rod or cut off bolt with two nuts same thread count as threaded spindle rod, two nuts to fit said bolt, small wrenches to fit said nuts, utility knife or fine tooth razor saw, pencil, pin vise, cordless drill (because it sits better on my bench), flat micro file, fine pointed micro file or diamond reamer, bit that will fit inside thread tube, sand paper (220, 340, 600, 1500), super glue
Parts list (sizes are what I typically use): hardwood block, brass bolt (1 1/4 inch 10/32 or 10/32 brass rod), brass tube (7/32 x .014), UHMW nylon washer (ID .265 OD .5), 1 inch felt washer, sewing machine bobbin (Singer Class 66), nylon washer (ID .193 OD .438), silicone rubber washer (ID .170 OD .5), brass knurled nut (10/32 thread), stainless steel hypodermic tube (.072 or .078), finish (gunstock oil, epoxy resin, lacquer/varnish)
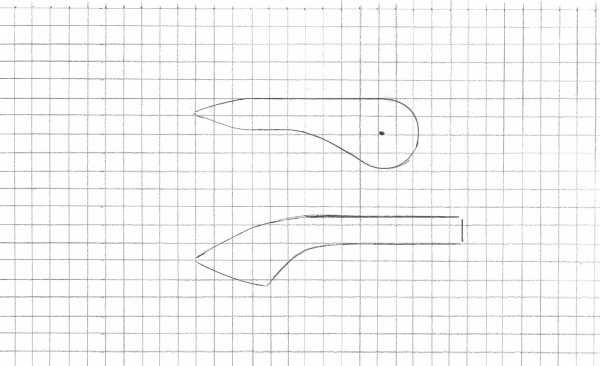
Start by downloading the template PDF. Print the PDF preferably on card stock so you have a stronger template that will stand up to some use. Cut out the two template pieces which should print to actual size on 8 x 11.5 paper.
Please use appropriate PPE!!!
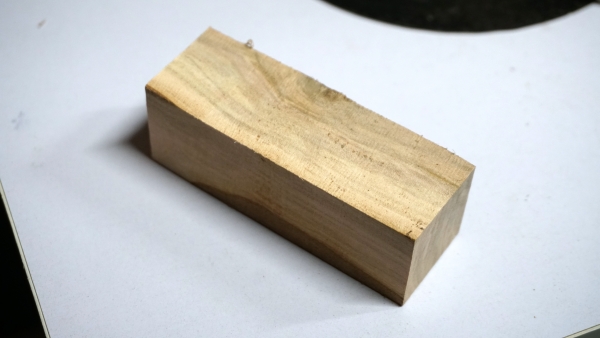
Begin with a block of wood about 3.5 inches long, 1+ inches wide, and 1+ inches thick. 1 inch is really the minimum, but having some extra gives room to wiggle.
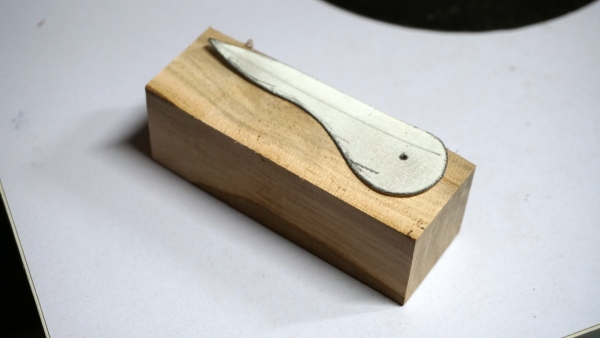
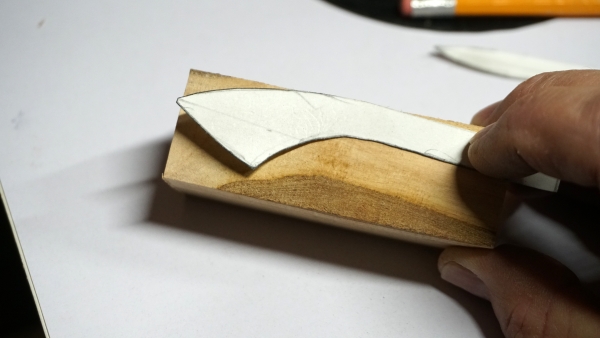
Align the side template with the side of the block and trace. Leave about 1/8 of an inch at the tip. Mark the location of the spindle hole.
Turn the block to the right and use the top template to mark the location of the thread tube. If you want a left handed bobbin, flip the template.
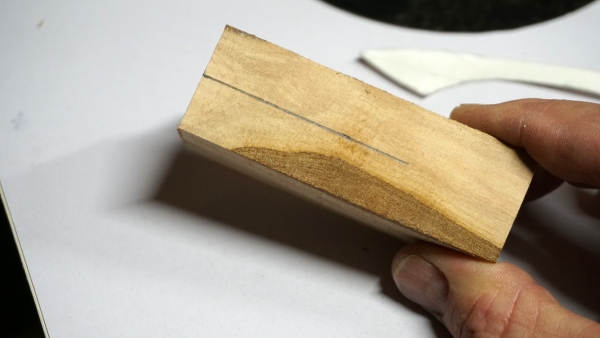
Cross hatch the end of the block to mark where to drill the hole for the thread tube. I use the band saw.
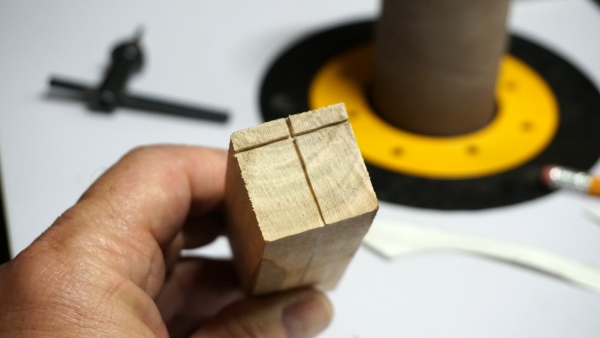
Use a square to clamp the block upright in the drill press vise aligning the cross hatch with the bit. I use a 5/64 bit for .078 tubing or a 1/16 bit for .062 tubing, but use a bit the size of the thread tube.
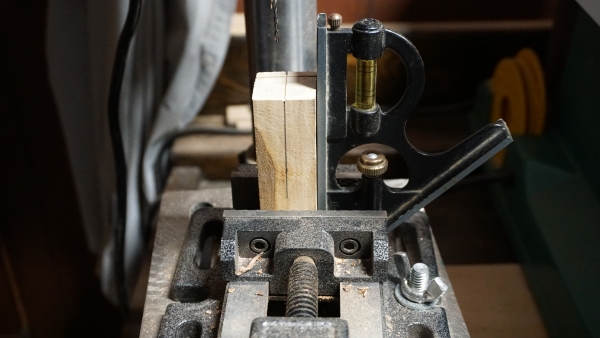
Drill the thread tube hole.
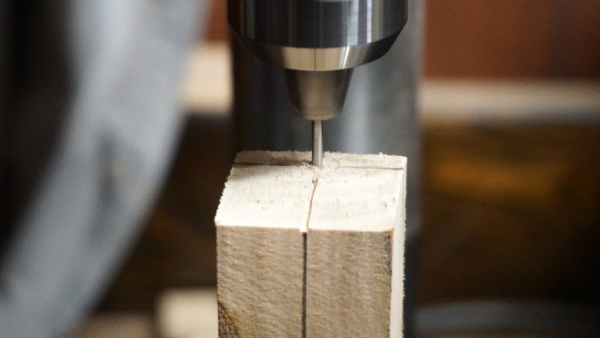
Lay the block down with the traced side template up. Clamp the block in the vise with a level.
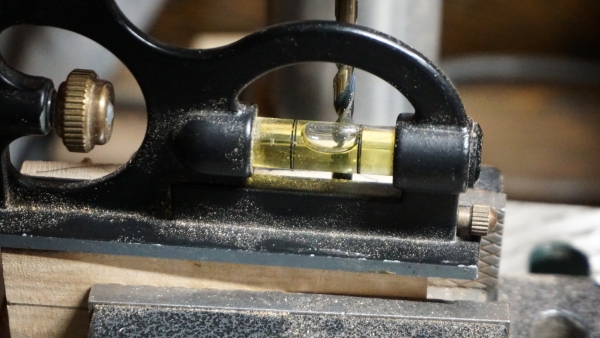
Drill the spindle shaft hole. I use an 11/64 bit which is slighly smaller than the OD of the 10/32 bolt I use for the shaft.
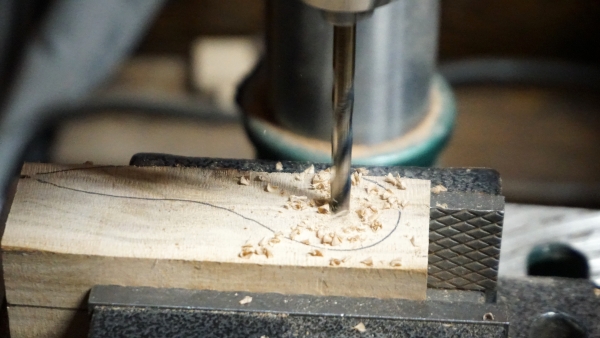
Cut the side profile with the band saw.
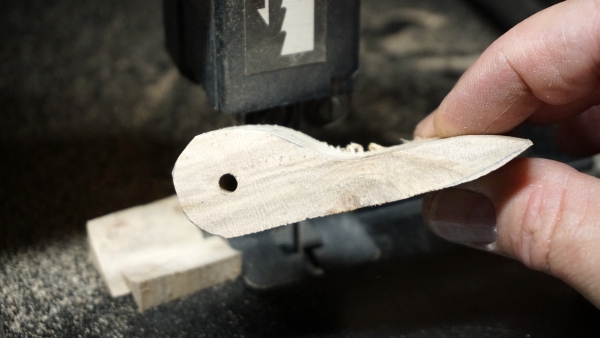
Use the top template to mark the top profile. Be sure to align the tip of the template with the drilled tube hole and the side of the template with the side of the block.
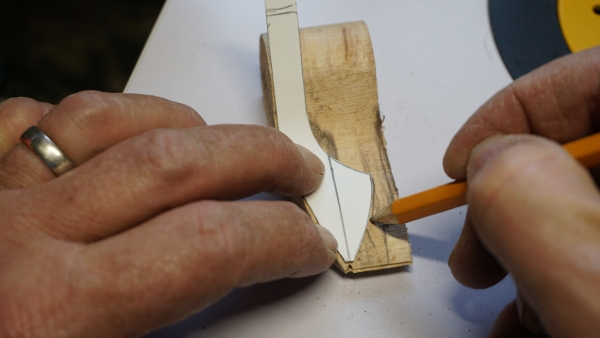
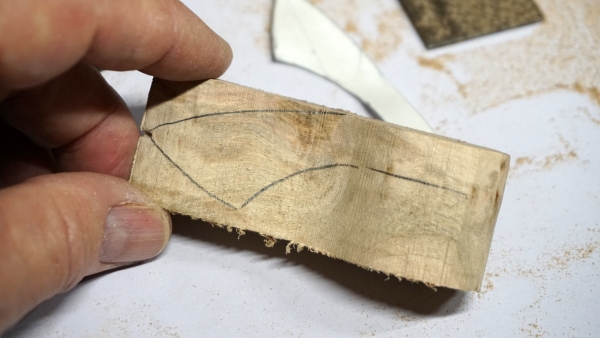
Cut the top profile with the band saw.
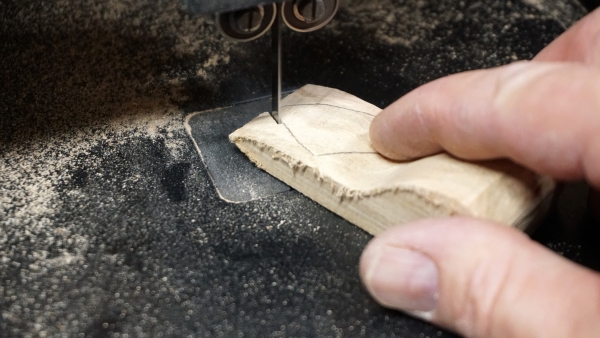
Check the thread hole placement. Be aware that wood grain can cause the bit used to drill the thread hole to wander. The placement of the hole is important but not extremely critical. The goal is to reduce the angle at which the thread will enter the tube as much as possile.
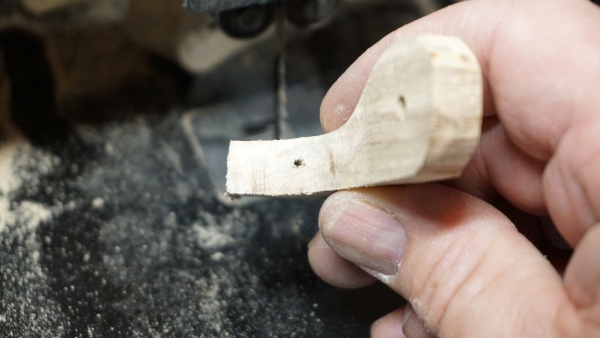
Shape the bobbin body using the sander (alternatively use a rasp and file). I start with 80 grit paper to do the preliminary shaping until all the outside corners are rounded and the bobbin feels right in my hand.
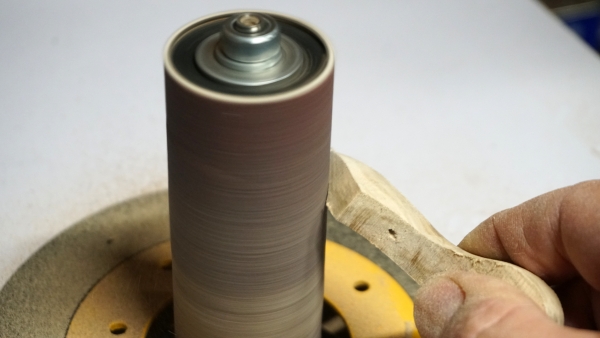
I use a guage to measure the part of the body that will hold the thread to try for some consistency.
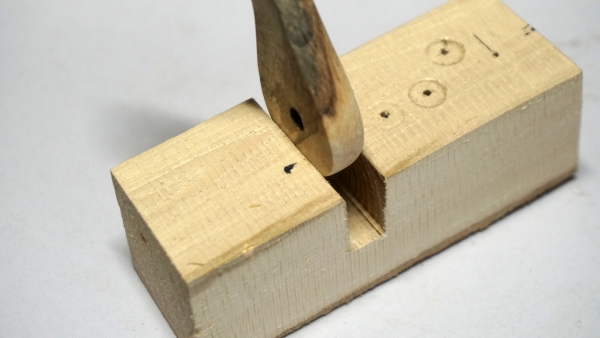
Use 120/150 grit paper to smooth the body and eliminate the rougher grit paper scratches.
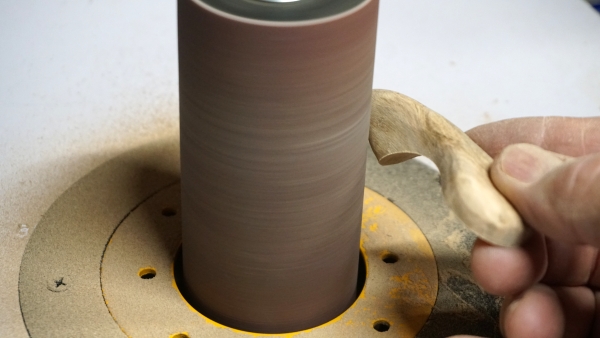
Check to make sure the thread tube hole is at the tip of the body.
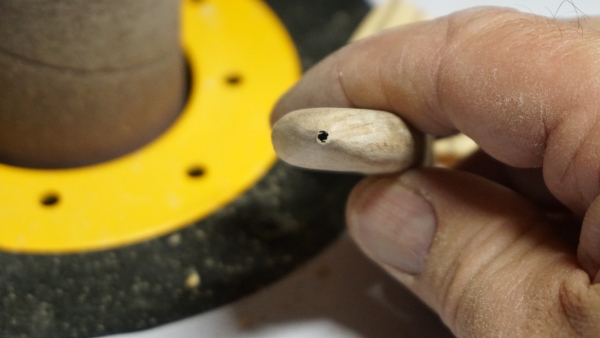
I hand sand with 220 grit paper.
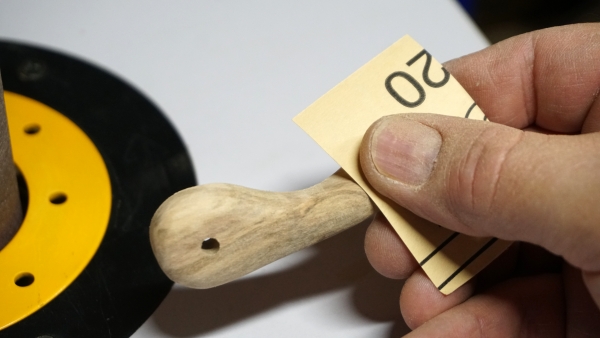
Wetting the bobbin body will cause the wood grains to stand out for the next sanding. This is the first time to see what the body will look like when finish is applied.
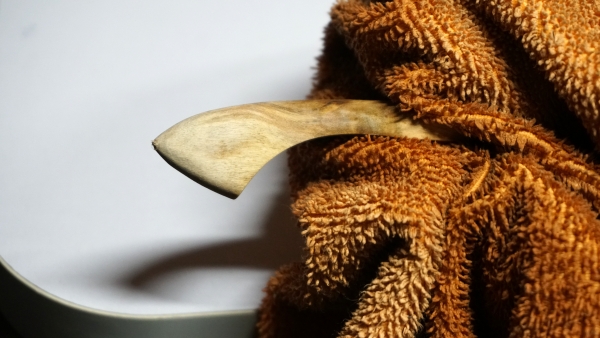
I sand with 340 grit prior to applying the finish. The smoothness of the body is a matter of preference, and I've found that 340 at this stage is plenty smooth.
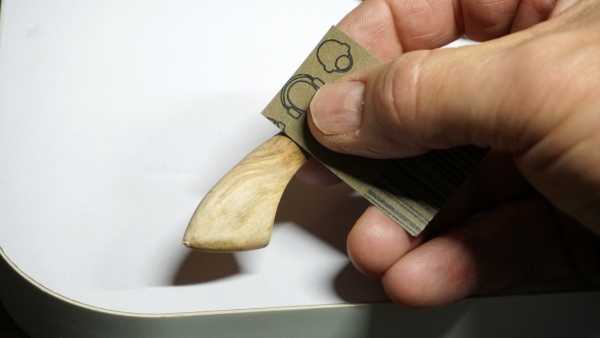
Gun stock oil gives an oiled feel with a lacquer durability; but linseed oil, straight lacquer/varnish, or epoxy resin are all options. I apply three coats of gun stock oil with a 340 grit sanding between each coat and a 600 sanding after the third coat.
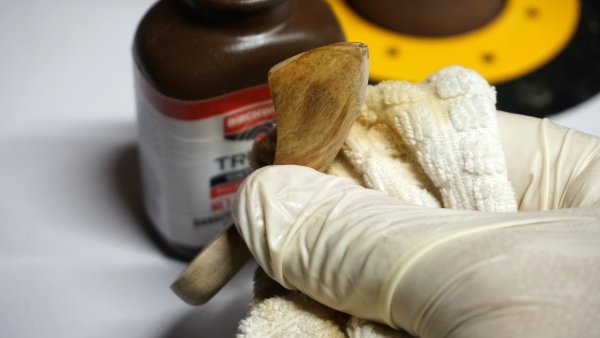
The gun stock oiled body is finished with a cotton wheel buffing.
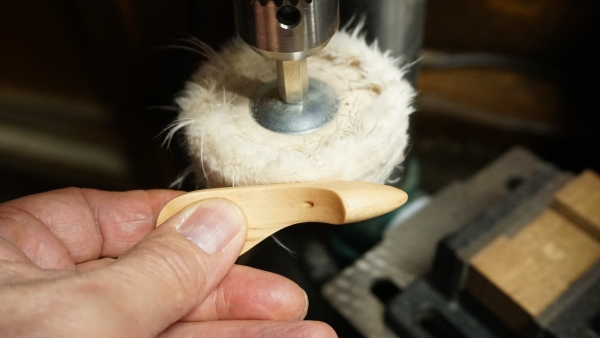
A 10/32 tap part-way through the spindle shaft hole will help get the bolt started. I tap from the outside toward the inside. I've found that I'm less likely to chip out the hole by threading the bolt from the outside. Tapping only half or two-thirds through the hole will help cause the bolt to cut its own threads and secure it more tightly in the bobbin body. With softer woods, a drop of glue on the threads will help keep it tight.
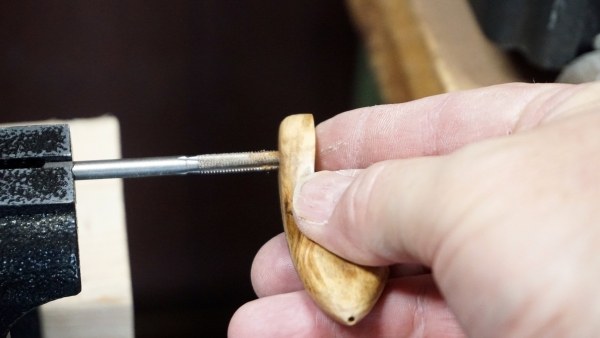
Cut a brass bolt or brass rod to length determined by the combination of the bobbin body, all the washers, the sewing machine bobbin, and the flat knurled nut. I use a 10/32 round head bolt and cut it 1 3/32 inches long. NOTE: Holding the bolt or rod in wood blocks will prevent the threads from crushing.
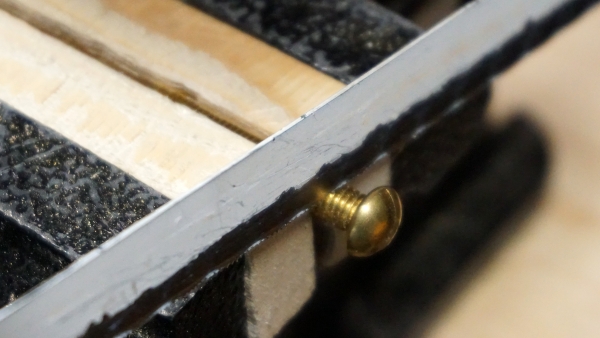
File and bevel the cut ends for a clean finish.
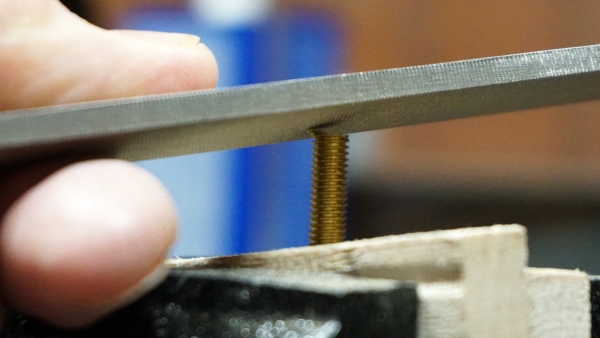
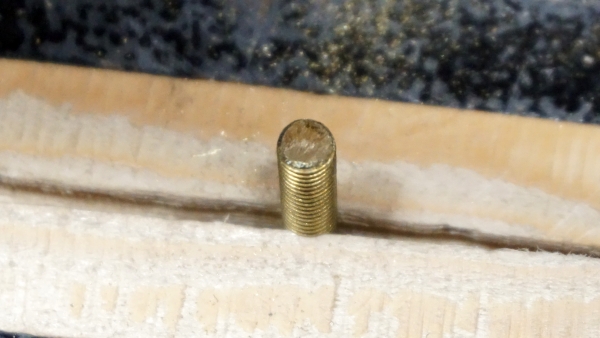
Thread the bolt into the tapped bolt hole.
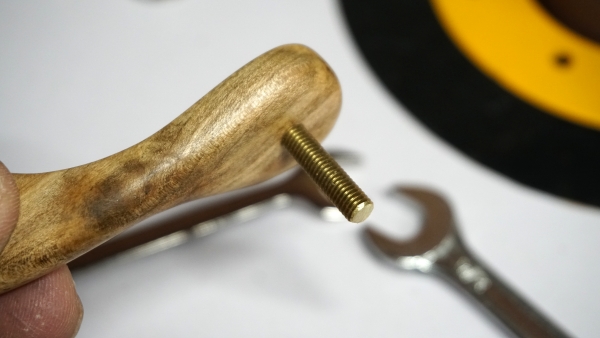
Double nutting the bolt (tightening the nuts against each other with wrenches) makes threading the bolt though the body possible since the tap only goes half way through and the threads are cutting their own pathway.
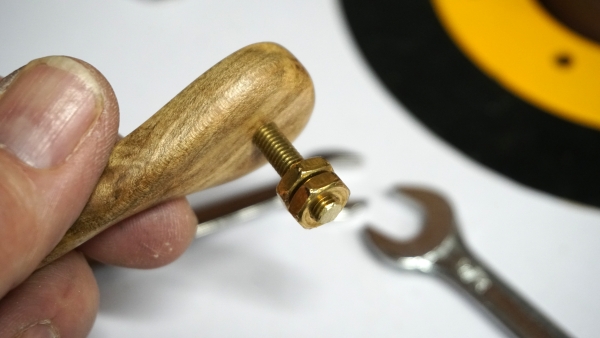
Move the nuts to the inside on the bolt to finish pulling it through.
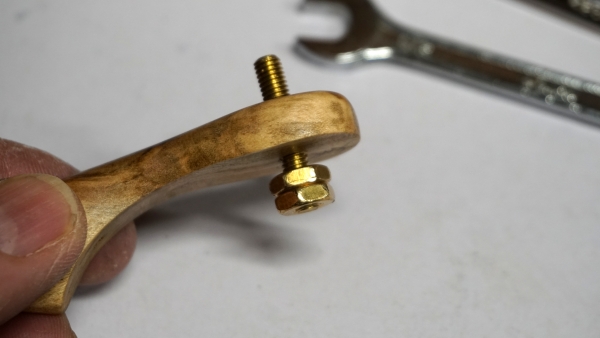
Threading the bolt in from this direction is a little more work, but it ensures the bolt hole is not chipped out on the outside of the body.
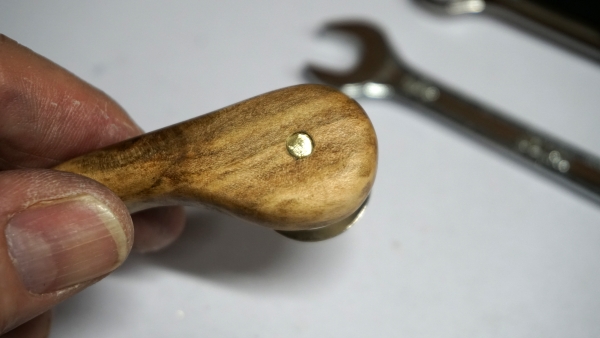
Flat, brass, imperial, knurled nuts do not exist in the wild. Wayne Moore called these "battery terminal nuts."
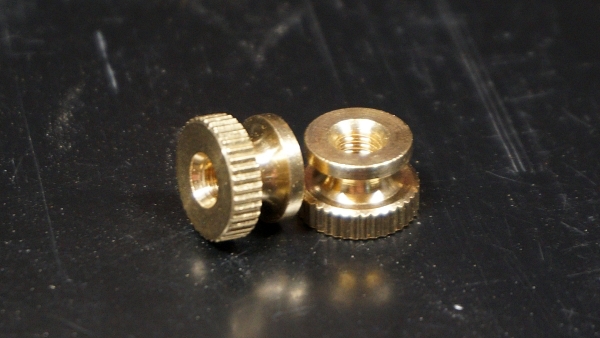
Once the skirt is removed, the remaining piece is a flat knurled nut. I use my drill press as the quickest way to do this surgery.
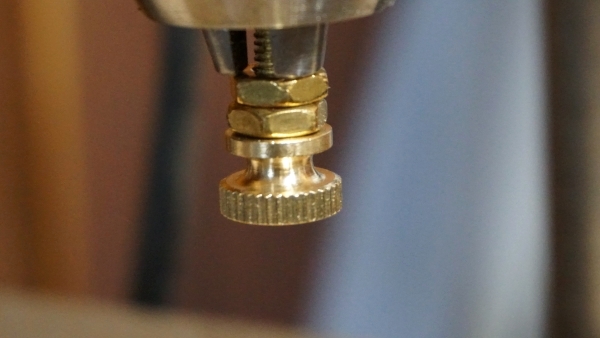
A hack saw pressed and drawn against the spinning nut does the trick.
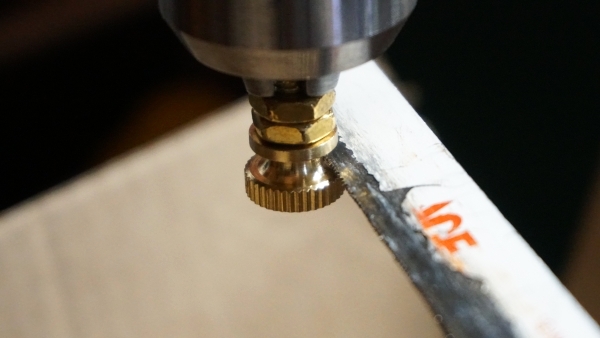
Re-threading the nut, cut side down, onto the bolt in the drill chuck give access for filing...
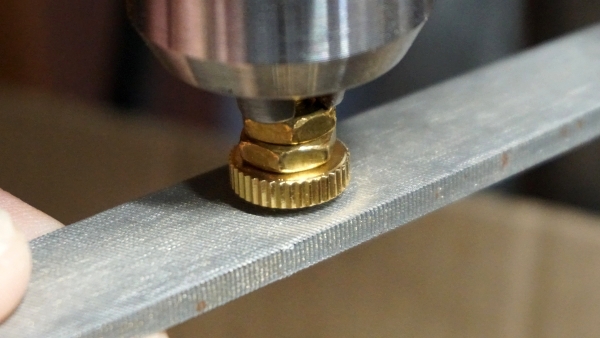
... and sanding with 340 grit paper...
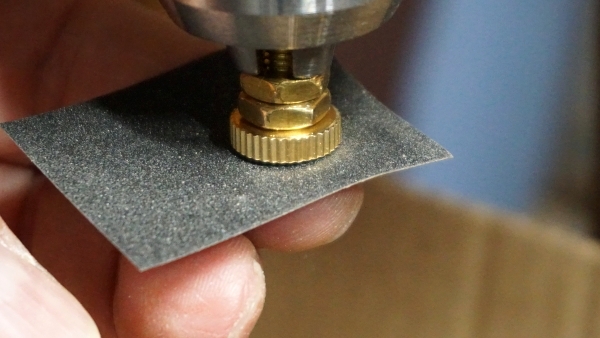
... for a silky smooth finish.
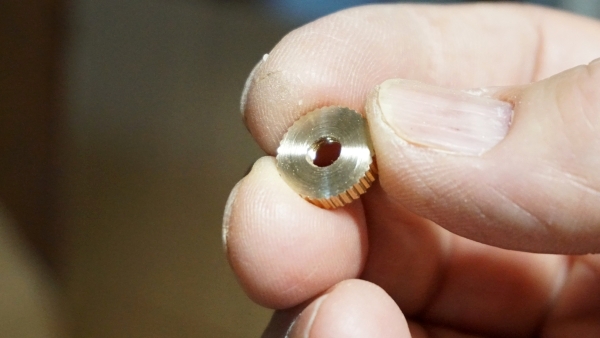
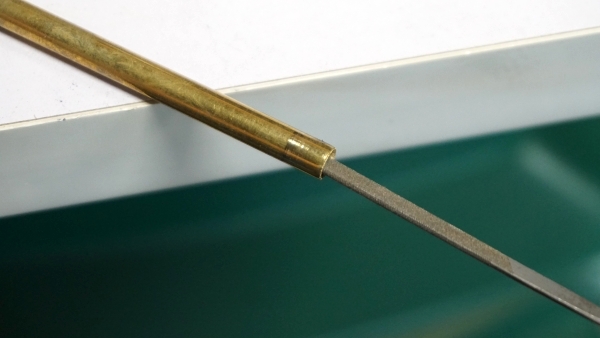
A brass tube sleeve just less than the width of the sewing machine bobbin (I use 3/8 of an inch with the Singer Class 66 bobbins) to cover the bolt under the sewing machine bobbin is cut with a tube cutter.
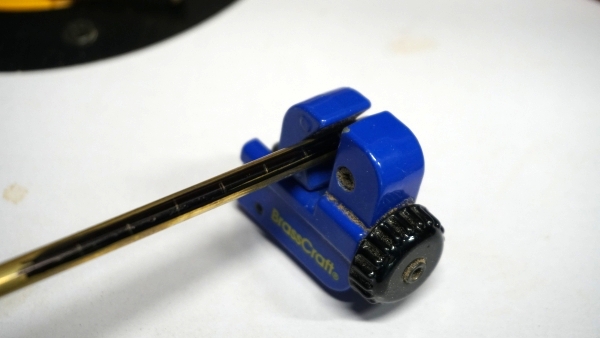
Because the tube cutter bends the tubbing inwards, it is necessary to file out the openings (I use a half round micro file) so that it will slide easily over the bolt.
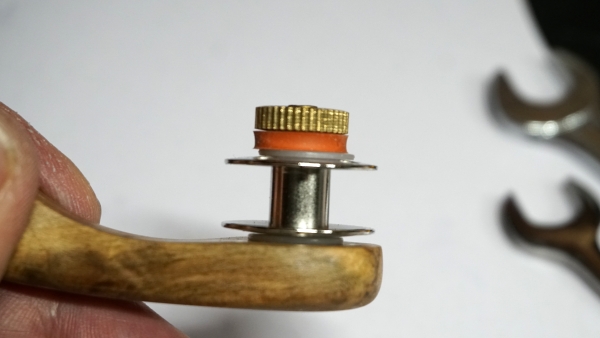
The thread tensioning system is now ready to be assembled: larger nylon washer, sleeve, felt washer, sewing machine bobbin, smaller nylon washer, rubber washer, knurled nut.
Moore and Jensen had access to teflon. Jensen stamped his own washer from sheets of teflon. I use UHMW nylon. The ID (inside diameter) needs to be large enough to go over the brass tube sleeve.
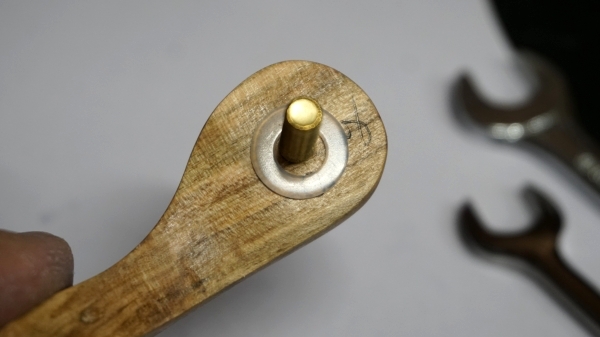
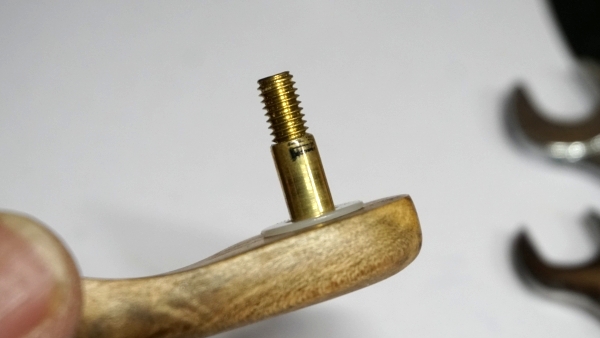
Neither Moore nor Jensen used a felt washer. I did not use one at first either, but trial and trial have proven the benefits of a felt washer with or instead of the first nylon washer.
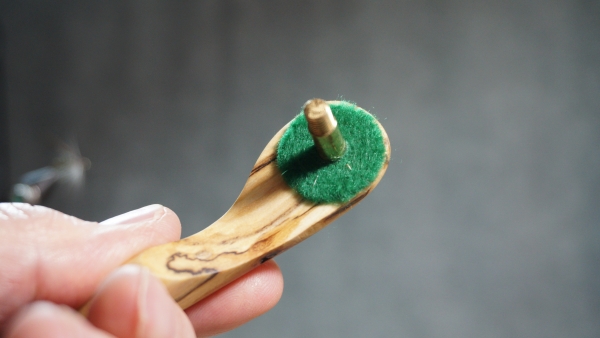
I like the Singer Class 66 metal bobbin because it is made without crimps or sharp edges and is slightly convex.
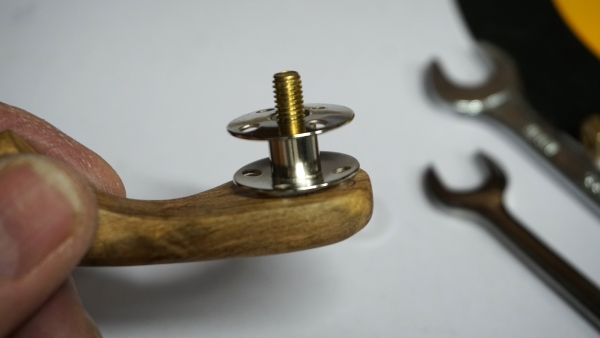
The top nylon washer needs to fit only over the bolt and not the sleeve also. It provides slip between the sewing machine bobbin and the rubber washer.
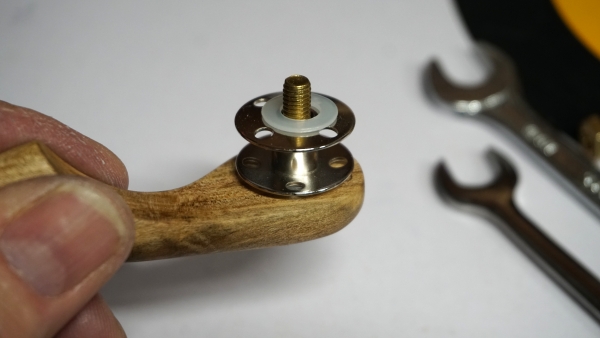
The key to a properly functioning tensioning system is the tight fitting rubber washer. It should not rotate freely so as to prevent the knurled nut from coming loose.
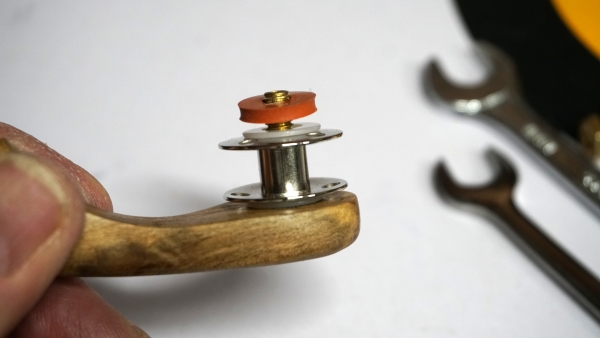
The knurled nut keeps the thread in proper tension. It is not a completely foolproof system, but it works well needing only minor adjustments in a tying session.
All that is left is arguably the most critical piece: the thread tube. Any bobbin is useless if the tube cuts thread. The tube on these bobbins is stainless steel hypodermic tubing: .039 (1mm) for tying micro flies, .062 is close to 1/16th, .078 is close to 5/64ths.
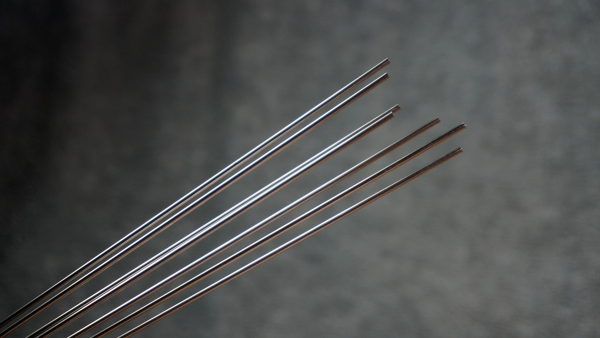
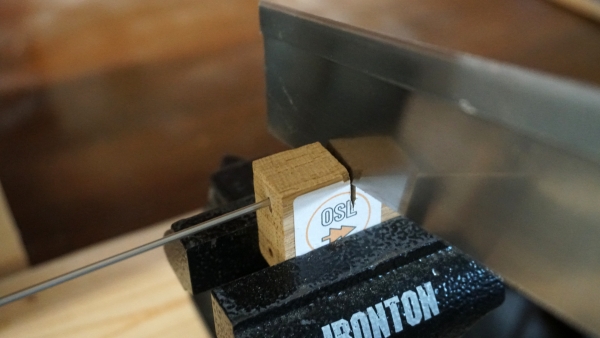
I made my own cutting jig to cut two inch lengths from one foot pieces (best shipping option). A very fine tooth razor saw does a quick and fine job.
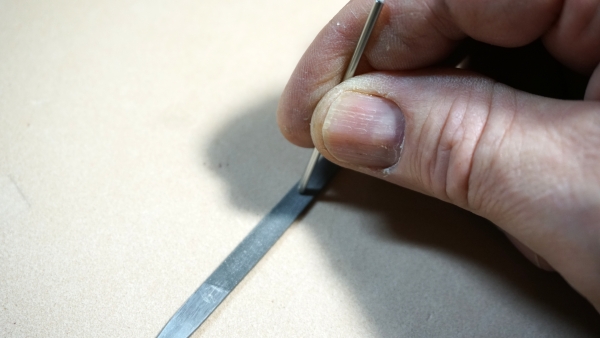
A flat end is achieved by filing while rotating the end of the tube on a micro file.
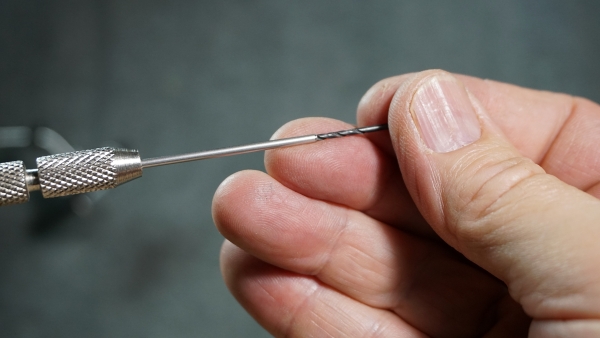
I hold the tube in a pin vise in my cordless drill chuck. I use the drill to turn the tube forward and reverse. The inside of the tube is de-burred with a drill bit that fits inside and is run in and out with the tube spinning both directions. A fine point file might be needed to first open the end.
The outside of the tube is de-burred by turning the tube both directions against a flat micro file.
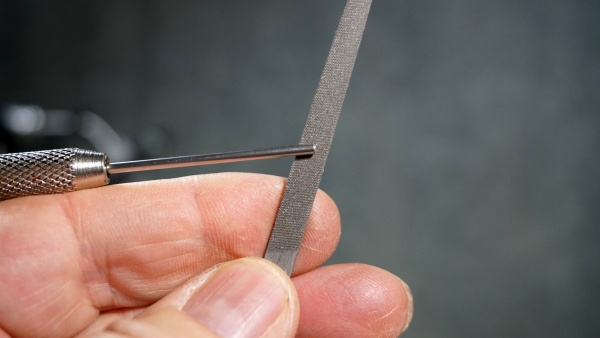
The tube is sanded with three grits of sandpaper: 340, 600, and 1500. I use folded triangles. I insert the tip into the tube, wrap it over the edge of the tube, and turn the tube against the fold of the paper in both directions on each corner of the triangle.
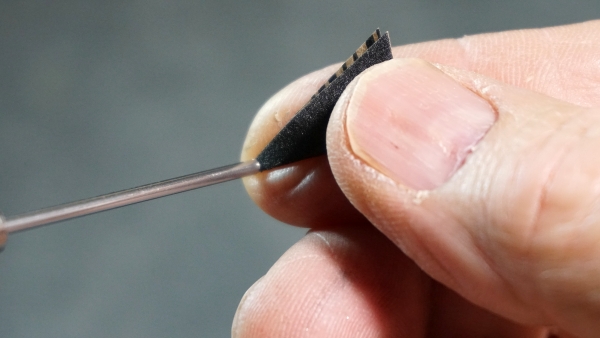
The first buff is done with the paper side of a folded sandpaper triangle, both directions.
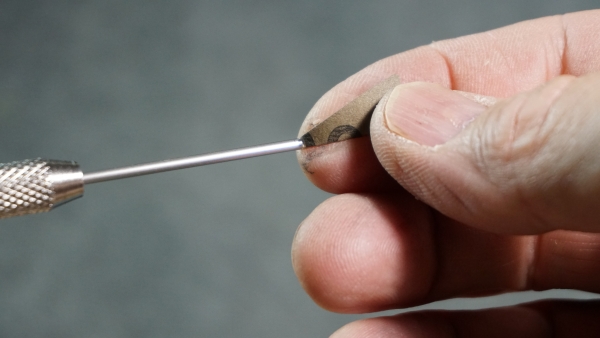
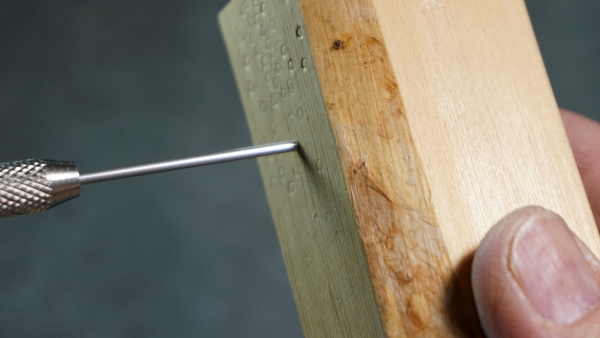
A final buff is done by spinning the tube both directions against a pine block.
Finally, both ends of the thread tube are tested by tying simple flies that use many thread wrapps.
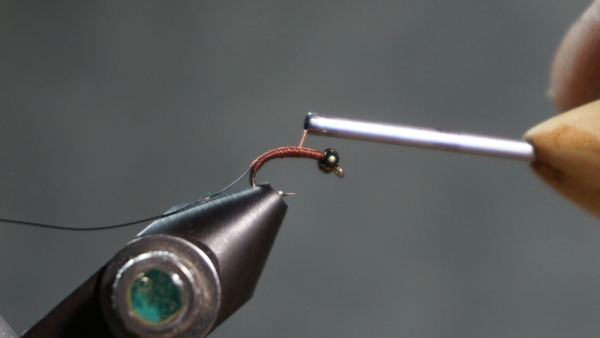
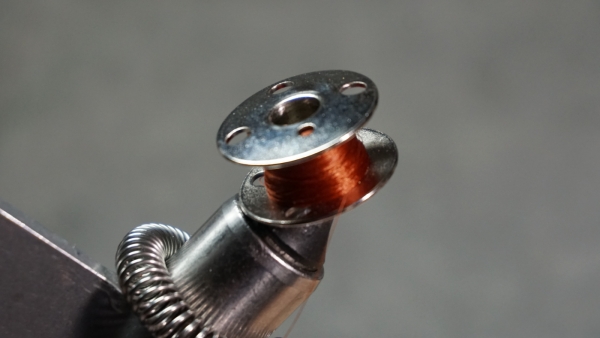
NOTE 1: The sewing machine bobbin needs to be loaded with thread. This is best done with the bobbin spooling device on a sewing machine. Commercial spoolers work but tend to be a bit more finicky especially with Class 66 bobbins. A tight fitting dowel and a drill with hand tension on the thread works well, too.
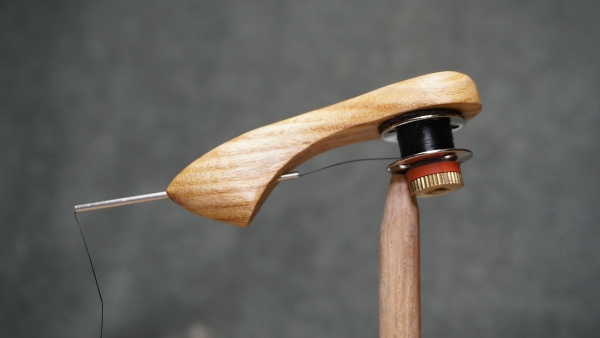
NOTE 2: I have a dedicated body that has a slightly smaller thread tube hole that holds the tube tightly without needing glue that I use to test the tubes.
If the tube does not cut thread, it is ready to be permanently mounted in its own body. If the tube cuts thread, the buffing process is repeated until it does not cut thread.
I almost always need to re-open the thread tube hole before seating the tube. I do that with a bit that is mounted in a 1/4 hex shaft that I can turn by hand. Scuffing the tube, applying a drop of super glue (I use gel), and twisting the tube into the body will seat the tube permanently.
Sincerely,
Christian "Andy" Andrews
Springfield, MO